A Beginner’s Guide to Travel Photography Tips
October 5, 2022
Manual vs AI photo editing, Which is the best for you?
October 10, 2022In today’s digital age, almost everyone has a camera on their phone. But taking a great photo requires more than just pointing and shooting. Photography is a great way to capture memories and moments, but it can be daunting for beginners. Here are 20 photography tips for beginners just starting out.
14 photography tips for beginners
Almost everyone owns a DSLR camera these days, but taking a great photo requires more than just pointing and clicking. If you’re interested in learning how to take better pictures, this article is for you. As a beginner, photography can seem daunting. But with a few simple tips, you can quickly improve your photos.
Here are some photography tips for beginners that will help you get started.
1. Chose the best camera
There are a few things to consider when purchasing your first camera. The type of camera you need depends on the types of photographs you want to take. Here are a few tips to help you select the best camera for your needs.
If you want to take high-quality photos, you will need a DSLR camera. DSLR cameras have large sensors that allow for more light and detail. They also have interchangeable lenses so you can change the type of lens depending on the type of photo you want to take.
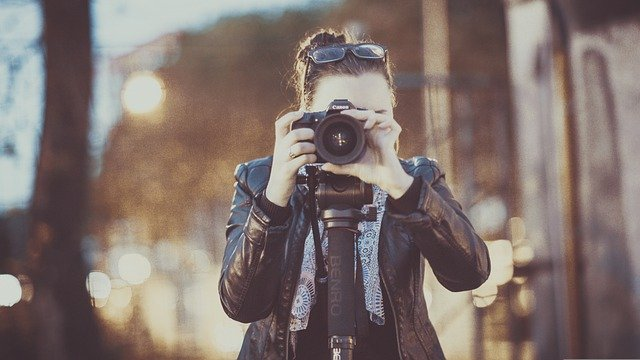
If you plan on taking mostly pictures of people or animals, look for a camera with good autofocus. This feature allows the camera to focus quickly and accurately so your subjects will be in sharp focus.
Another thing to consider is the size and weight of the camera. If you plan to carry it around a lot, you will want a light and small camera.
2. Better Composition
Photography is not just about taking a good picture, but also about composition. Here are some tips to help you compose your photos:
- Decide what you want to include in the frame and what you want to leave out. This will help you create a focused image.
- Pay attention to the background and make sure it compliments your subject matter. A busy background can distract from your main subject.
- Use leading lines to draw the viewer’s eye into the photo and toward your main subject matter. Leading lines can be created by roads, fences, or even power lines.
- Create balance in your photo by placing your subject off-center. This will add interest and avoid a boring, symmetrical composition.
- Fill the frame with your subject. If you’re photographing a person, try to fill the frame from their head to their knees.
- Make sure your subject is well-lit and that there is no glare on your lens.
3. Correct Settings
- One of the most important things to think about when taking a photograph is the setting. The setting can make or break a photo, so it’s important to choose wisely. Here are a few tips to help you choose the right setting for your photos:
- Consider the light. The light is one of the most important elements in a photo, so you need to make sure it’s just right. If it’s too dark, the photo will be grainy and hard to see. If it’s too bright, the photo will be washed out and hard to see. The best time to take photos is during the golden hour, which is an hour before sunset or an hour after sunrise.
- Consider the background. The background of a photo can make or break it. If there’s something distracting in the background, it will take away from your subject. If the background is blurry, it will draw attention to your subject and make the photo more interesting.
- Consider your zoom. If you’re taking a close-up photo of something small, like a flower or insect, you’ll need to get close to fill the frame with your subject.
4. Lighting & Time
Lighting is one of the most important aspects of photography, and there are a few things to keep in mind when you’re starting out. First, try to avoid using flash whenever possible. Natural light will give your photos a more natural look, and it can be easier to work with. If you do need to use flash, make sure you’re not pointing it directly at your subject’s face – this can cause harsh shadows and unflattering results. Instead, bounce the light off a nearby wall or ceiling for a softer effect.
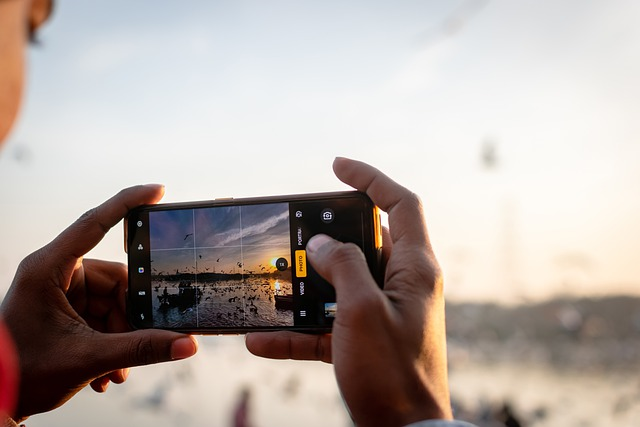
Second, pay attention to the direction of the light. If possible, shoot in the early morning or late afternoon light, which is often called “golden hour” because of its warm tones. This type of light can make even mundane subjects look beautiful.
5. Body Movement
If you’re just starting out in photography, one of the most important things you can do is learn how to use your body to control the camera. Here are a few tips to help you get started:
- Use your arms and legs to stabilize the camera. When you’re holding the camera, make sure that your elbows are close to your sides and that your feet are shoulder-width apart. This will help keep the camera steady when you’re taking a photo.
- Use your whole body to turn. When you’re moving around to get a different angle on a subject, don’t just turn your head – turn your whole body. This will help you keep the camera steadier and avoid shaking it when you take the photo.
- Use gentle movements.
6. Using the best Tripods
If you’re new to photography, one of the most important pieces of equipment you can invest in is a tripod. A tripod will help keep your camera steady and prevent blurry photos. It’s especially important to use a tripod when shooting in low light or taking long exposures.
There are a few things to keep in mind when using a tripod. First, make sure the tripod is stable and level. You don’t want your camera tipping over or wobbling around. Second, when framing your shot, pay attention to where the edges of the frame fall. You don’t want objects at the very edge of the photo cut off or too close to the edge. And finally, don’t forget to turn off your camera’s image stabilization if it has that feature.
Otherwise, the stabilization will cancel out the benefits of using a tripod.
7. Flash
Flash photography can be tricky, but with a little practice, you can master it. Here are a few tips to help you get started:
- Use a diffuser: A diffuser helps to spread the light from the flash evenly, giving your photos a softer look.
- Bounce the flash: Bouncing the flash off of a nearby wall or ceiling will give your photos a more natural look.
- Experiment with exposure: Don’t be afraid to experiment with your exposure settings when using a flash. A little trial and error will help you find the perfect setting for your particular situation.
8. Lenses
Lenses are one of the most important aspects of photography, and there are a few things to keep in mind when choosing one.
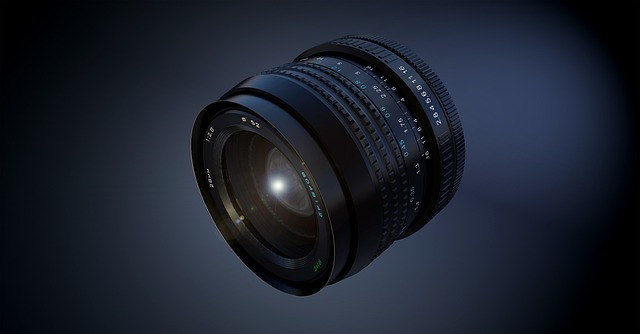
First, think about what you want to shoot. If you’re mostly interested in landscapes, look for a wide-angle lens. For portraits, a telephoto lens will let you get up close without disturbing your subject.
Second, consider whether you want a fixed or zoom lens. Fixed lenses have a single focal length and can’t be zoomed, while zoom lenses have a range of focal lengths and can be adjusted on the fly.
Third, think about the aperture. A wider aperture (lower f-number) will let in more light and produce a shallow depth of field, while a narrower aperture (higher f-number) will do the opposite. fourth, take into account your budget.
9. Filters
There are many different types of filters that can be used when photographing. Some of the most common filters are UV filters, polarizing filters, and ND filters.
- UV filters are typically used to protect the lens from ultraviolet rays.
- Polarizing filters are used to reduce glare and reflections.
- ND filters are used to reduce the amount of light that enters the camera.
Filters can be very useful in certain situations. However, it is important to know when and how to use them properly. Otherwise, they can actually end up harming your photos.
10. Post Processing of Photo
After you take a photo, it often requires some adjustments before it looks its best. This process is called post-processing and can be done either on your computer or phone.
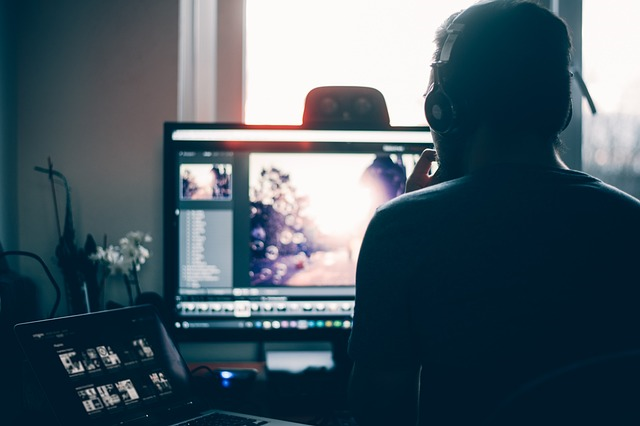
To start, open up your photo in an editing program like Adobe Photoshop or Lightroom. From here, you can make changes to the exposure, contrast, white balance, and more. It’s important to experiment with different settings to see what looks best for your particular photo.
Once you’re happy with the basic edits, you can move on to more creative options like adding filters or overlays. Have fun with it and see what gives your photo a unique look. When in doubt, less is usually more when it comes to post-processing.
Keep in mind that post-processing is just one part of taking great photos.
11. Backup
One of the most important photography tips for beginners is to always have a backup plan. Whether you’re shooting digital or film, make sure you have a backup camera body and lens, as well as extra batteries and memory cards. If you’re shooting on location, always scout out potential places to shoot in advance so that you know where to go if the weather changes or something unexpected happens. And finally, make sure you back up your photos regularly so that you don’t lose them if your camera or computer crashes.
12. Perspective
Perspective is one of the most important aspects of photography, yet it is often overlooked by beginners. The best way to learn about perspective is to experiment with it. Get down low, shoot from high up, use a wide-angle lens, and zoom in close. By changing your perspective, you can completely change the feel of your photos.
One way to experiment with perspective is to get down low, almost at ground level. This will give your photos a completely different feel than if you were standing up straight. You’ll be able to capture more of the environment in your frame, and it can be an interesting way to change up your composition.
If you want to make things look small or far away, then shooting from a high vantage point can be helpful. This is especially true if you’re shooting landscapes.
13. Reflections
As a beginner photographer, one of the things you’ll likely want to do is take photos of reflections. Whether it’s in a puddle, lake, or mirror, reflections can add an interesting element to your photos. Here are a few tips for taking great reflection photos:
– Get down low: When taking a photo of a reflection in the water, getting down low will give you the best results. This way, you can avoid getting any ripples or waves in your photo.
– Use a long exposure: If you’re using a DSLR camera, try using a long exposure for your reflection shots. This will help to smooth out any imperfections and give your photo a dreamy look.
– Play with angles: Experiment with different angles when taking reflection photos. You might find that shooting from directly above gives you the best results.
14. Photographing Fireworks
If you’re hoping to capture some stunning fireworks photos, there are a few tips you should keep in mind. First, it’s important to find a good spot with a clear view of the sky where the fireworks will be taking place. You’ll also want to make sure your camera is mounted on a tripod so that it’s steady and you can avoid any blurriness.
When it comes time to actually take the photo, you’ll want to use a long exposure. This means setting your camera to a low ISO and high aperture and then holding down the shutter button for several seconds. It takes a little practice to get the timing right, but once you do, you’ll be able to capture some incredible images of the fireworks.
Watch the video
Conclusions
In conclusion, these are a few basic photography tips for beginners that should help you get started. Photography can be a very rewarding hobby or profession, and with a little bit of practice, you can develop your own unique style. Just remember to have fun and experiment with different techniques to find what works best for you.

