How to Change Color of Object in Photoshop Professionally
January 15, 2021
Photography Tips for Beginners to taking better picture
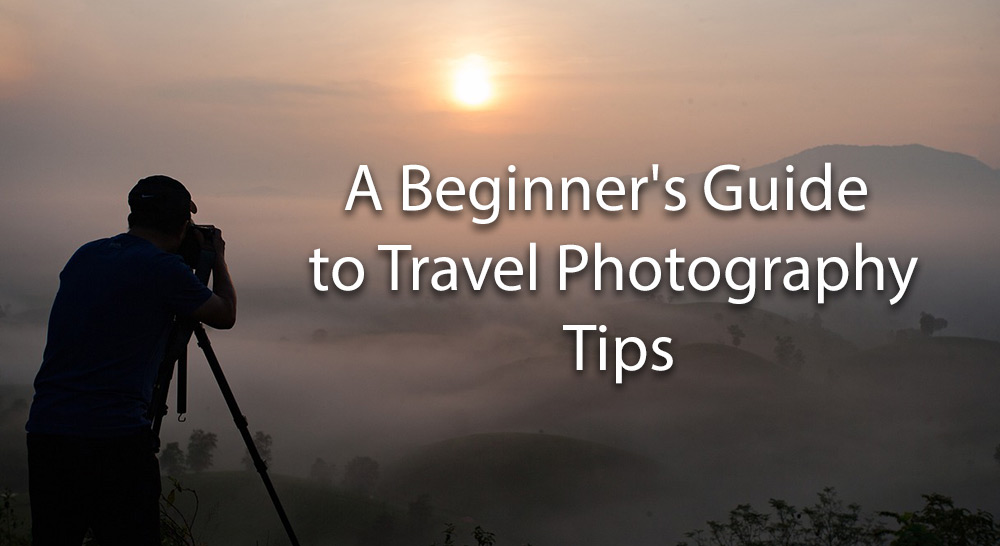
October 7, 2022Whether you’re an amateur or a professional, travel photography tips can help you capture amazing photos on your next trip. But with so many different styles and techniques, where do you start?
In this beginner’s guide to travel photography, we’ll cover everything from planning your shots to editing your photos. By the end, you’ll have all the knowledge and inspiration you need to start taking gorgeous travel photos.
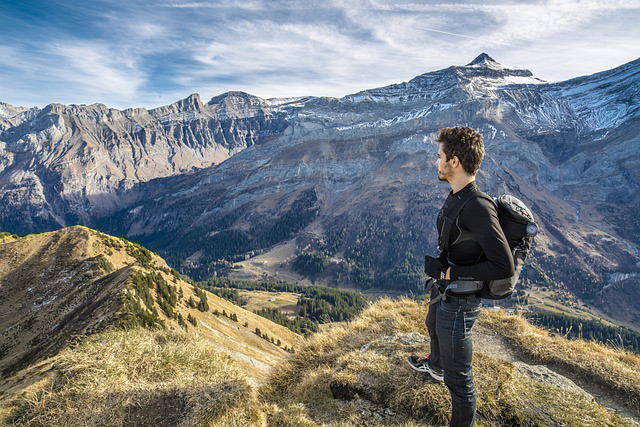
First, it’s important to choose the right equipment. You don’t need the most expensive camera to take great photos, but you’ll want something that’s versatile and easy to use. A good travel camera should be lightweight and compact, with features that allow you to capture a variety of subjects.
Second, take time to learn the basics of photography. This includes understanding aperture, shutter speed, and ISO settings. These concepts may seem daunting at first, but there are plenty of resources available to help you master them. Once you understand the basics, you’ll be able to take better photos no matter where you are.
Finally, don’t be afraid to experiment. Whether you’re an experienced photographer or a complete novice, there are plenty of opportunities to take great travel photos. With a few simple tips, you can capture memories that will last a lifetime.
Here are a few travel photography tips for beginners to help you get started:
General Travel Photography Tips for Beginners
As a beginner, it’s important to know a few general tips about travel photography before heading out on your trip. Here are a few things to keep in mind:
1. Know Your Camera
This may seem like an obvious one, but it is important to know the capabilities and limitations of your camera. Read the manual, or at least skim it, so that you have a general understanding of what your camera can do. Take some time to experiment with the different settings and modes so that you feel comfortable using them before you go on your trip. That way, when you’re trying to capture that perfect sunset or landscape shot, you’ll be able to quickly adjust your settings without having to fiddle around with them.
2. Bring Extra Batteries and Memory Cards
You don’t want to be in the middle of nowhere and run out of battery or memory space on your camera. Always bring a spare set of batteries and memory cards. Memory cards are relatively inexpensive so you might as well have several on hand. Batteries, however, can be expensive so only bring what you think you’ll need.
3. Pre-Trip Location Scouting
Pre-trip location scouting is an important part of any travel photographer’s workflow. By taking the time to research your destination before you arrive, you can save yourself a lot of time and hassle once you’re on the ground.
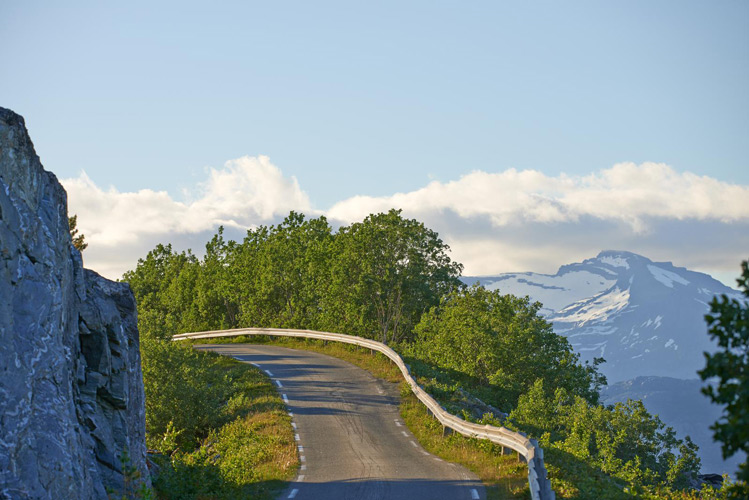
There are a few key things to keep in mind when pre-trip location scouting. First, be sure to research the best times of day to shoot at your desired locations. This information can be found online or through local sources such as tourism offices. Secondly, it’s important to have an idea of the kind of shots you want to get before you arrive. This will help you narrow down your search and make the most of your time on location.
Finally, don’t forget to factor in logistics such as transportation and accommodation when planning your shoot.
4. Ask For Permission From Locals
If you’re new to travel photography, one of the first things you should do is get permission from locals before taking their pictures. It’s important to be respectful of other cultures and to show that you’re not just there to take pictures of people without their consent.
One way to get permission is to simply ask. If you’re polite and explain that you’re interested in taking pictures of people as part of your travel photography, most people will be happy to oblige. Another option is to buy a local SIM card for your phone and use it to send text messages or make calls to ask for permission.
Of course, there are also times when it’s perfectly acceptable to take pictures without asking first. If someone is in a public place or participating in a public event, they’re fair game.
5. Focus on the Golden and Blue Hours
If you’re new to photography, you may have heard of the “golden hour.” This is the time just after sunrise or just before sunset when the light is warm and golden. It’s a beautiful time to take photos, but it can be hard to get up early or stay out late.
The “blue hour” is another time that is great for photographs. This is the time just before sunrise or just after sunset when the sky is a deep blue color. Like the golden hour, the light during the blue hour is very warm and beautiful.
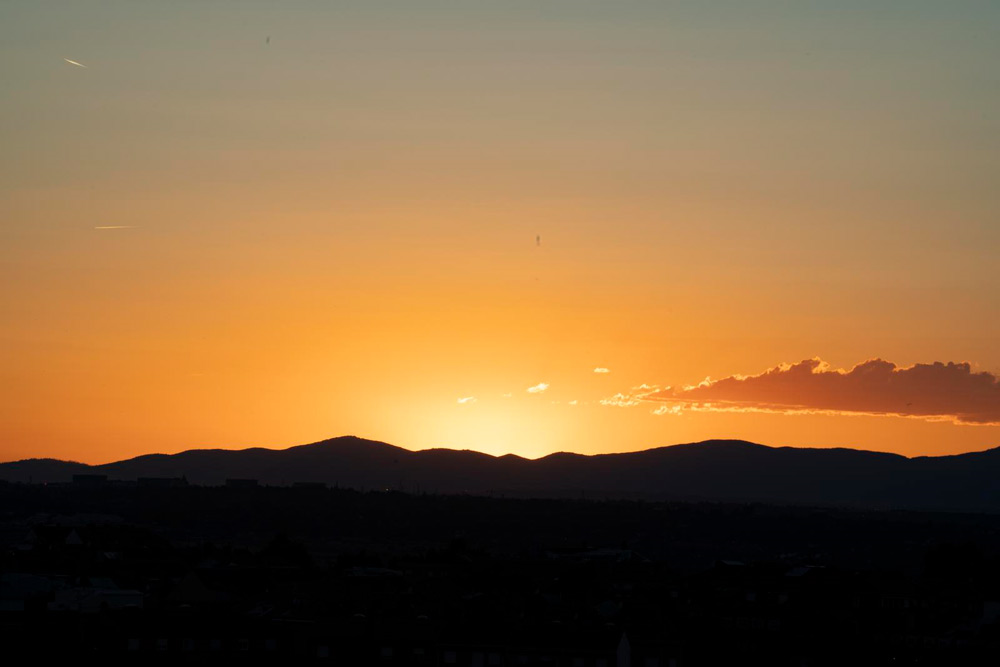
Both of these times are great for taking travel photos because the light is so lovely. If you can, try to plan your travels so that you’re able to take advantage of these magical hours.
Bonus tips: You may never know if and when the clouds will cover the landscape or the sky will light up in vibrant colors. Wait a few minutes, until it looks good to you.
6. Plan Your Shots
Whenever you go on a trip, it’s always a good idea to have a plan for your shots. By taking the time to plan out your photos, you’ll be able to make the most of your time and get the best photos possible.
Here are a few things to keep in mind when planning your shots:
- Decide what you want to photograph. Do you want to focus on landscapes, or are you more interested in capturing candid moments? Once you know what you want to photograph, you can start planning where to go and what to shoot.
- Make a list of the must-have shots. What are the key places or things that you absolutely need to photograph? This will help you make sure that you don’t miss anything important.
- Scout out locations in advance.
- Use a wide-angle lens, if possible.
- Make sure your equipment is working.
- Don’t forget to take lots of memory cards, batteries, and film.
- Remember the rules of composition and use them to make a strong composition by placing objects in the foreground, middle-ground, or background. 8. Take your time to get the best possible shot.
- Don’t be afraid to try new angles and perspectives.
- Take a polarizing filter, if you have one, to cut through glare from water or glass surfaces such as windows and reflections in the water.
7. Rule Of Thirds In Photography
The rule of thirds is one of the most basic and essential guidelines in photography. It is a compositional rule that states that an image should be divided into nine equal parts by two horizontal and two vertical lines and that the subject should be placed on one of the intersections.
The rule of thirds helps to create more balanced and interesting compositions and can be used in both landscape and portrait photography. For landscape photos, it can help to place the horizon on either the top or bottom third line, rather than in the middle of the frame. In portrait photos, the rule of thirds can be used to position the subject off-center, which often results in a more flattering composition.
While the rule of thirds is a great starting point for beginners, it is important to remember that it is only a guideline and not a hard-and-fast rule. There are many instances when the rule of thirds can be ignored or broken, and sometimes doing so can create a more interesting composition. The most important thing is to use your own best judgment in deciding what works best for each individual photo. The rule of thirds is a simple concept.
It states that an image should be imagined as divided into nine equal parts by two equally-spaced horizontal lines and two equally-spaced vertical lines, and those important compositional elements should be placed along these lines or their intersections.
Reference: https://www.adobe.com/creativecloud/photography/discover/rule-of-thirds.html
8. Framing, Framing, and More Framing
In photography, framing refers to the process of composing a picture. This includes choosing what will be in the photo, as well as what will be left out. The way you frame a photo can make a big difference in the overall composition and feel of the image.
There are many different ways to frame a photo. One way is to use the rule of thirds. This rule states that an image should be divided into thirds, both horizontally and vertically. This gives the viewer three points of interest to look at within the frame. Another way to frame a photo is by using leading lines. These are lines that lead the eye through the image and help give it depth and dimension.
No matter what method you use, always take time to consider your framing before taking the shot. The human eye has a natural tendency to look at the brightest part of an image. If this is not what you want viewers looking at, it can be distracting to the overall composition of your photo.
9. Move Your Feet
If you’re new to travel photography, one of the best things you can do to improve your skills is to move your feet. By getting up close and personal with your subjects, you’ll be able to capture images that are far more interesting than if you’d stayed in one spot.
Of course, there’s no need to run around like a maniac – just take a few steps closer to your subject matter and see how it changes the way your photos look. You may also want to try moving to different angles and perspectives, which can really help add depth and dimension to your shots.
So next time you’re out exploring a new destination, don’t be afraid to move around a bit – it just might help you get that perfect photo!
10. Use a Tripod
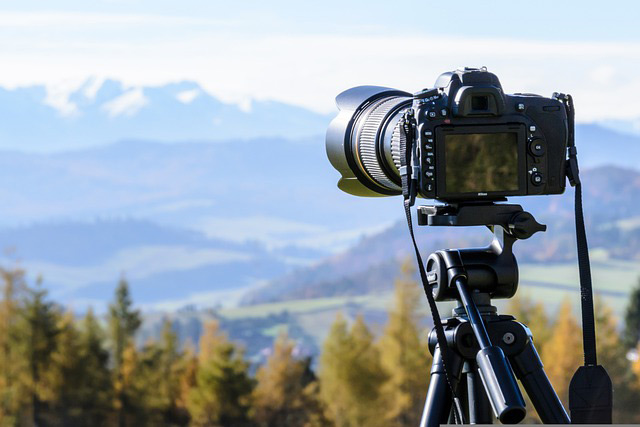
If you’re serious about taking great photos while traveling, then one of the best pieces of advice is to use a tripod. A tripod will help stabilize your camera and prevent blurry photos. It’s especially useful in low-light situations or when you want to capture a long exposure.
Another advantage of using a tripod is that it allows you to be more creative with your compositions. For example, you can set up your camera in a low position for an interesting perspective, or experiment with night photography.
Of course, tripods can be bulky and inconvenient to carry around. But if you’re willing to make the investment, it’s worth it for the quality of your photos.
11. Find the Right Travel Photography Gear
Now that you know the basics of travel photography, it’s time to equip yourself with the right gear. Here are 10 essential items every travel photographer should have:
- A digital single-lens reflex (DSLR) camera. This type of camera gives you the most control over your images and allows you to capture high-quality photos.
- A wide-angle lens. This is a must-have for capturing sweeping landscapes and grand architecture.
- A telephoto lens. This is ideal for getting close-up shots of wildlife or for taking photos of people from a distance.
- A tripod. This will help you avoid blurry images caused by camera shake, especially when using a long focal length or shooting in low light conditions.
- A polarizing filter.
- A shutter release cable. This will allow you to trigger the camera shutter without touching the camera, especially useful when using a tripod.
- A lens cleaning kit.
- Memory cards and a card reader.
- 1Batteries and a battery charger
- A notebook and pencils
12. Patience Is Everything
In travel photography, patience is everything. It’s important to be patient when waiting for the perfect shot. The best pictures are often the ones that are taken after waiting for the right moment.
It can be difficult to be patient when you’re on vacation and you want to make sure you get some great shots. But it’s important to remember that sometimes the best shots are the ones that you have to wait for. If you’re patient, you’ll be rewarded with some amazing photos.
13. Exposure Triangle of Photography
The exposure triangle is one of the most important concepts in photography. It is the relationship between three key variables: aperture, shutter speed, and ISO. By understanding how these three elements work together, you can take control of your photography and create the images you want.
Aperture is the size of the opening in the lens through which light passes. A larger aperture (a lower f-stop number) lets in more light and produces a shallow depth of field, which means that only a small part of the image is in focus. A small aperture (a higher f-stop number) lets in less light and produces a deep depth of field, which means that more of the image is in focus.
Shutter speed is the amount of time that the shutter is open to let light into the camera. A faster shutter speed lets in less light and freezes the action, while slower shutter speeds let in more light and can produce motion blur.
ISO is the camera’s sensitivity to light, which is measured on a scale of 100 to 400 (800 or greater is not uncommon). A higher ISO lets you shoot at a faster shutter speed or in lower light conditions, but also increases image noise.
14. Always Bring A Camera
As a travel photographer, one of the most important things you can do is to always bring a camera with you. By having a camera with you at all times, you will be able to capture those special moments that otherwise would have been lost.
Of course, not everyone is a professional photographer and not everyone has the latest and greatest DSLR camera. But that doesn’t mean that your photos can’t be just as good as the professional. With today’s technology, even smartphones can take great photos.
So, whether you are an amateur or a professional, always remember to bring your camera with you when you travel. You never know when that perfect photo opportunity will present itself.
15. Backup Your Travel Photos
It’s important to protect your travel photos so you can enjoy them for years to come. Here are a few tips on how to backup your photos while traveling:
- Bring a portable hard drive or flash drive. This is an easy way to store and transport your photos. Make sure to label it with your name and contact information in case it gets lost.
- Upload your photos to a cloud storage service like Dropbox or Google Drive. This way, you can access them from anywhere and they’ll be backed up in case your device is lost or stolen.
- Print out copies of your favorite photos and keep them in a safe place. You can also create a photo album or scrapbook for added protection.
- Share your photos with family and friends so they can enjoy them too!
16. Get Better At Post Processing
As a travel photographer, you’re likely always on the go and constantly taking photos. But what happens when you get home and have to sit down and edit all of those photos? If you’re not happy with your post-processing skills, it can be a daunting task.
Here are a few tips to help you get better at post-processing:
– Find your own editing style. There is no right or wrong way to edit your photos, so find what works best for you and stick with it. This will help give your photos a consistent look and feel.
– Simplify your workflow. Don’t try to do too much in one sitting – take some time to learn a few basic editing techniques and then build on those as you become more comfortable.
– Be patient. It takes time to get good at post-processing. Keep practicing, and you’ll get better.
– Make a plan before you start editing. Do you want to focus on color or black and white? Are there any specific issues in your photos that you want to fix?
– Don’t try to fix everything at once. Focus on one or two things at a time and then move on to the next.
– Don’t have sufficient time to edit photos by myself. Don’t worry, Free free to hire post processing photo editing company then they will take care of it very professionally.
17. Shoot in RAW
If you’re new to photography, the term “RAW” might be confusing. RAW files simply image files that haven’t been processed yet. This means that they haven’t been converted into a JPEG or another file format.
When you take a photo, your camera captures the scene in RAW data. This data is then compressed and converted into a JPEG file, which is the file type that most cameras use. The problem with JPEGs is that they lose some of the original data when they’re compressed. This can result in lower-quality images.
Shooting in RAW means that you’re capturing all of the original data from your scene. This gives you a lot more flexibility when it comes to editing your photos later on. You can make adjustments without worrying about losing any quality.
Most Common Questions and Answers of Travel Photography
What type of equipment do you need to take good travel photography?
In order to take good travel photography, you will need a DSLR camera, a tripod, and a remote shutter release. You will also need a variety of lenses to capture different types of shots.
How can you make your photos look better?
There are a few things you can do to make your photos look better:
1. Use a tripod – This will help keep your camera steady and prevent blurry photos.
2. Use a higher shutter speed – A faster shutter speed will help freeze any movement and also prevent blurry photos.
3. Use a higher ISO – A higher ISO will help you capture more light, resulting in sharper, clearer photos.
How can I improve my photography skills?
There are a few things you can do to improve your photography skills. First, practice as much as possible. Second, find a mentor or take a class to learn from someone with more experience. Third, read books and articles about photography to learn new techniques. Finally, experiment with different settings and subject matter to find what you enjoy most.
Watch the full Video:
Conclusions
If you’re planning a trip and want to up your photography game, this beginner’s guide to travel photography tips is for you. We’ll cover everything from what gear to bring, to how to capture those perfect postcard-worthy shots. By the end of this guide, you’ll be ready to take your travel photos to the next level.

